A vape device provides fine flavor and even vapor when kept tidy. However, plenty of users see that output drops bit by bit after a few days of steady use. Leftover bits from e-liquid build up in the tank. Moisture forms near air paths. Tiny bits gather close to the coil space. Such shifts can lead to milder flavor, narrower air flow, or irregular vapor output. Routine cleaning brings back usual work and holds the vaping session steady.
Current vape devices come with forward vapor turn setups and well-planned air flow builds. Producers often mix high-accuracy mesh warming parts with drawing cotton to better liquid change and flavor firmness. One case shows the tech applied by Razzbar. It stands as a skilled vape producer set up in 2015 with joined study, plan, and output skills. Its output site holds high-rule workshops and various assembly lines able to make millions of units each month. At the same time, it keeps firm quality checks.
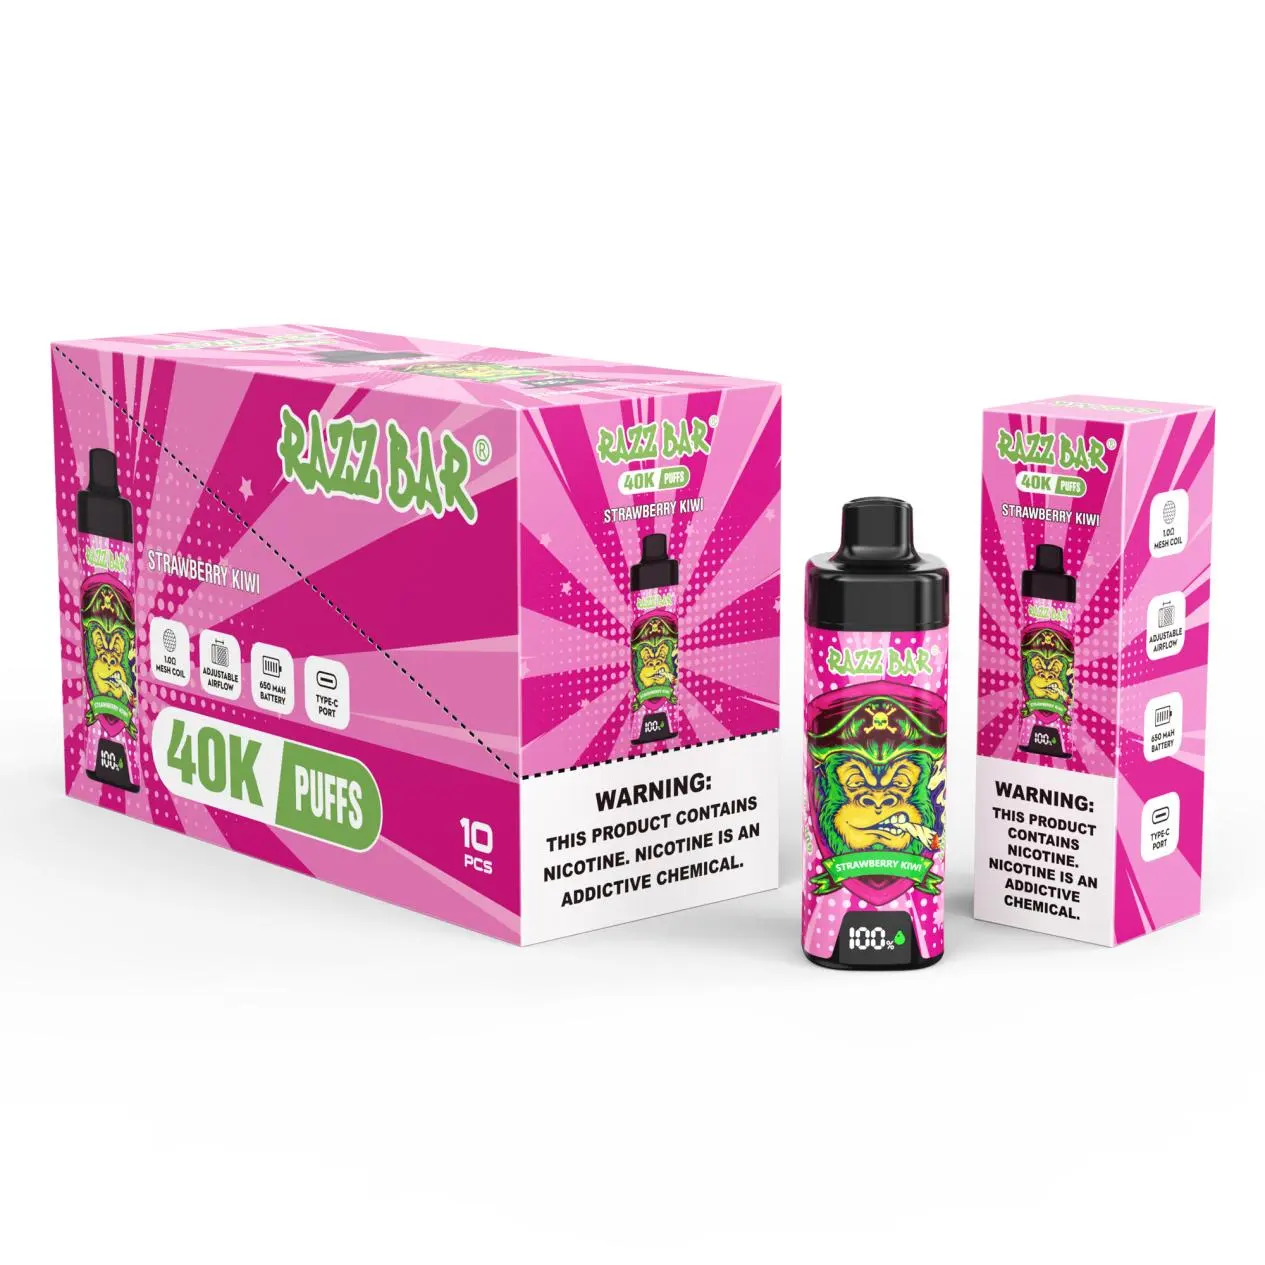
Units like the RazzBar 40k PUFFS show how forward mesh coil setups and chargeable batteries can back lasting output.

Why Should You Clean Your Vape Device?
A vape device handles e-liquid via warming and vapor turn. In this handling, small drops of cooled vapor stay in the space. They slowly form a slim coat of leftover. As time passes, this leftover blends with new liquid. Thus, it shifts the taste makeup.
Cleaning clears these builds and brings back the usual taste of the liquid. Plenty of users see that after cleaning, the device makes richer vapor mists and a sharper scent. Air flow paths also stay open. This makes drawing in air even and more easeful.
Another gain ties to device length. Tanks, rings, and air flow builds stay in finer state when leftover does not build. Producers that stress product lasting often plan their units to run best when basic upkeep routines get followed. For example, forward vapor turn setups depend on even heat spread to pull out flavor well. When leftover piles near the warming part, the setup cannot run at its top.
Routine cleaning thus betters taste, vapor level, and part life span.
What Device Type Are You Using?
Various vape devices need mildly varied cleaning ways. Before beginning, it aids to spot the build of the device.
Tank Systems
Tank setups hold several loose parts like the mouth piece, glass holder, coil foot, and air flow rule ring. Each area can usually get pulled apart and washed alone.
This plan makes cleaning simple. Once the parts come apart, water can readily clear e-liquid leftover from the tank sides and air paths.
Disposable Or High-Capacity Devices
Some current devices join a big e-liquid holder and battery into one small unit. These items get planned for long use cycles with little upkeep.
Units like the RazzBar 40k PUFFS fit this group. They hold mesh warming parts and tuned cotton builds that better liquid drawing and cut the risk of dry pulls. While inside cleaning seldom gets needed, keeping the mouth piece tidy and making sure air flow holes stay clear aids in holding even output.
Pod Devices
Pod setups hold a small swap pod linked to a chargeable battery. The pod holds both the e-liquid space and the coil.
Cleaning mainly aims at the outer of the pod and the touch spots between the pod and battery. When a pod turns heavily used, swapping it may work better than repeated cleaning.
When Should You Clean Your Vape Device?
Cleaning rate relies on how much the device gets used and how bold the e-liquid tastes are.
When Changing Flavors
Bold tastes like menthol or sweet mixes often hang in the tank. Washing the tank before filling again stops unwanted taste blending.
Weekly Routine Maintenance
A fast wash once per week aids in clearing moisture and small leftover before it shows.
Occasional Deep Maintenance
After a few weeks of use, a fuller cleaning may turn needed. This handling clears hard leftover that water alone cannot melt.
Producers often check their items fully before sending out. Sites with clean output spots and forward air clean setups hold high rates of item pure and quality checks. When units made under such states get routine upkeep, their taste steadiness and vapor firmness stay near first output.
How Does A Simple Rinse Work?
A simple wash fits well for usual cleaning and takes just a few minutes.
Step One: Disassemble The Tank
Pull the tank from the battery and split all loose parts like the mouth piece and glass space.
Step Two: Remove Remaining Liquid
Pour out left e-liquid before washing. This stops thinning and keeps tastes from blending.
Step Three: Rinse With Warm Water
Put the parts in mild water and wash them softly. If leftover seems sticky, a tiny bit of dish soap can aid in clearing it.
Step Four: Dry The Components
Use paper cloths to clear most wetness and leave the pieces in free air for about ten to fifteen minutes.
Step Five: Reassemble The Device
Once the parts turn fully dry, link the parts again and fill the tank.
How Can You Perform A Deep Clean?
When leftover builds over a longer time, a fuller cleaning brings back air flow and inner sides.
Step One: Remove Tank Parts
Split the tank parts in the same way as in usual cleaning.
Step Two: Wipe Difficult Areas
Use a cloth or tissue lightly wet with alcohol to clean threads, air slots, and other slim areas where leftover gathers.
Step Three: Rinse Thoroughly
After wiping, wash the parts again with pure water to clear any left alcohol.
Step Four: Allow Complete Drying
Let the parts dry fully before putting the device back together.
Fuller cleaning can greatly better taste sharpness, mainly when the device has run without stop for a few weeks.
Why Should You Replace Your Coils Regularly?
The coil serves as the warming heart of the device. In the coil, drawing cotton holds e-liquid and brings it to the warming part.
Over time the cotton gets full with leftover and loses its skill to draw new liquid well. When this occurs, the device may make milder vapor or a scorched taste.
Remove The Old Coil
Unwind or pull out the worn coil from the tank foot.
Install A New Coil
Put in a fresh coil and hold it softly.
Prepare The Coil Before Use
Add a small sum of e-liquid to the cotton hole and let it soak for a few minutes before vaping. This step stops dry warming in the first use.
Fine units often add special cotton substances with better hole builds that better liquid drawing and hold even vapor output.
How Do You Clean Pod Devices?
Pod setups need careful deal since their parts stay smaller.
Remove The Pod
Pull the pod from the battery.
Rinse The Pod
If the pod can get filled again, wash it softly with water. A cotton stick works well for cleaning tight spots.
Clean The Contact Points
Use a dry cotton stick to clean the battery touch area. This stops leftover from touching the electric link.
Dry Before Reassembly
Let the pod dry fully before putting it back on the battery.
Pods finally wear after long use. Swapping them brings back taste strength and vapor output.
FAQ
Q1: How Often Should A Vape Device Be Cleaned?
A: Mild cleaning once a week fits well for most users. Devices used often may gain from cleaning every few days.
Q2: Can Water Damage A Vape Device?
A: Water can harm the battery area. Only loose tank or pod parts should get washed.
Q3: Why Does My Vape Taste Burnt Even After Cleaning?
A: The coil may have hit the end of its life span. Swapping the coil usually brings back usual taste.
Q4: Is Soap Safe For Cleaning Vape Tanks?
A: A very small sum of mild dish soap can clear sticky leftover. Wash fully after.
Q5: Does Cleaning Improve Vapor Production?
A: Yes. Clearing leftover aids air flow to move freely and lets the warming part turn liquid to vapor more well.